Home / Updating Wood Paneled Rooms in Torrance Homes
Updating Wood Paneled Rooms in Torrance Homes
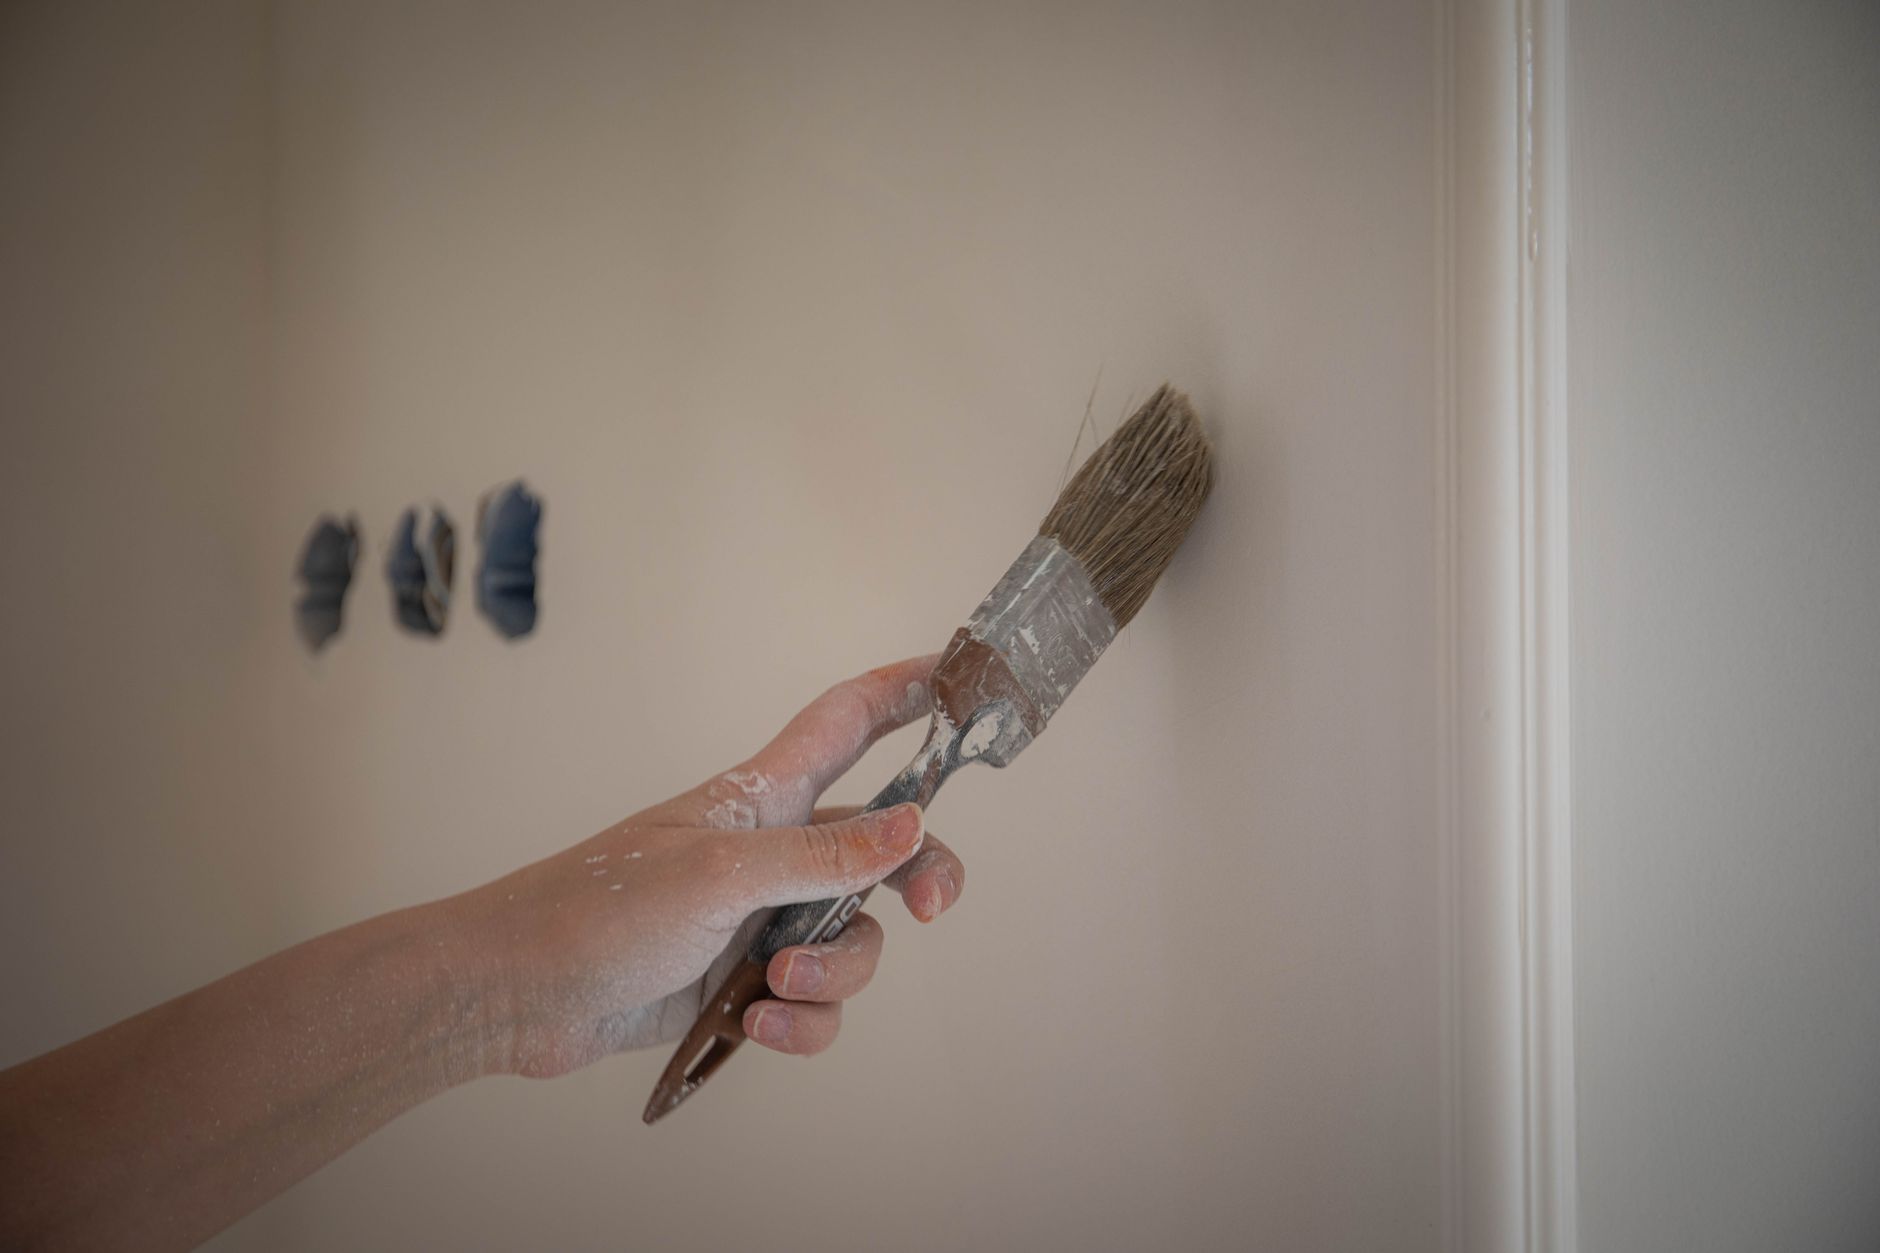
Yes, wood paneling can be painted, and in most Torrance homes it takes paint very well once the surface is cleaned and primed properly. The dark paneled den is one of the most familiar rooms in the older parts of the city. Families added these spaces when they enclosed a patio, finished a garage, or built a family room off the kitchen, and paneling was the quick, affordable wall covering of the era. Decades later, the same room often feels dim and cramped compared with the rest of the house. Paint changes that faster than almost any other update, but the work rewards patience and the right sequence.
Where paneled rooms show up around Torrance
Drive through Old Torrance or the postwar tracts that spread toward Del Amo and you will pass countless houses that gained a den or rumpus room at some point. Many of those additions went up with wood or wood look panels nailed straight to the studs or over existing drywall. In the cooler, foggier neighborhoods near the coast, such as Walteria and the Hollywood Riviera close to Palos Verdes, owners sometimes chose paneling simply because it felt warmer than bare plaster on gray mornings.
Before deciding on a color, it helps to figure out what kind of paneling is on the wall. Some rooms have genuine solid boards, tongue and groove, which can be sanded and repaired like trim. Far more common in Torrance additions are thin sheets of plywood with a printed or real wood veneer face and machined grooves that imitate separate boards. A few have hardboard panels with a photographic wood grain printed under a plastic coating. Each behaves differently under primer, and the slick printed versions need the most care.
An easy check is to remove a switch plate or outlet cover and look at the edge of the panel. Solid wood shows the same grain through its thickness. Veneer shows thin layers. Hardboard looks like compressed brown fiber.
Cleaning comes first, and it matters more than people expect
Paneled rooms tend to be lived in rooms. They have absorbed years of fireplace smoke, cooking vapor drifting from the kitchen, furniture polish and hand oils around light switches and doorways. Many were also treated with wax or oil based polishes that leave a film paint cannot grip.
A thorough wash with a degreasing cleaner, followed by a clean water rinse, removes most of it. Pay special attention to the lower third of the walls, where hands and chair backs touch, and to the area around any fireplace. Let the panels dry completely. In a house near Madrona Marsh or anywhere the marine layer keeps the air damp, give that drying more time than the label suggests, and run a fan or open windows on a dry afternoon.
While washing, look for loose panels, popped nails and gaps at the corners. Reset nails, add a few finish nails where a panel bows, and fill the holes. A panel that flexes when pressed will crack its paint at the seams later.
Priming paneling so the paint stays put
Primer is the step that makes or breaks a paneling job. The factory finish on most panels is a hard lacquer or plastic coating, and paint applied straight over it can peel in sheets with a strip of tape. A light scuff sanding with fine paper dulls the sheen and gives the primer some tooth. Wipe the dust away with a damp cloth.
From there, a bonding primer designed for glossy or difficult surfaces gives the topcoat something to hold. Real wood and wood veneer can also release tannins, the natural compounds that bleed through light paint as yellow or brown blotches, especially on darker species. A stain blocking primer, often a shellac based or oil based product, stops that bleed. Many painters use a primer that does both jobs at once. Two thin coats on dark paneling often hide the grain better than one heavy coat.
Test a small hidden area first, such as inside a closet or behind a bookcase. Let the primer cure for a day, then press tape on it and pull it off. If primer comes away with the tape, the cleaning or scuffing needs another pass.
What to do about the grooves
Grooves are the signature of paneling, and homeowners split on whether to keep them. Leaving them visible gives the room a board and batten or shiplap character that fits a cottage, beach or craftsman feel. That approach suits many South Bay homes and saves a lot of labor. Brushing paint into each groove before rolling the flat face prevents thin, shiny lines where the roller skipped.
Filling the grooves creates a flat wall that looks closer to drywall. The work involves running a flexible filler or lightweight joint compound into each groove, often in two or three passes since the material shrinks as it dries, sanding between passes, and sometimes skim coating the entire surface so the panel faces and filled grooves read the same. The joints between full sheets can telegraph through over time as the wood moves with changes in humidity, so expect some hairline lines to appear eventually. Some owners skip all of this and simply hang thin drywall over the paneling, which is a carpentry project rather than a painting one.
Choosing a color for a paneled room
A paneled den often has a low ceiling, one window and furniture pushed against every wall, so the color does a lot of work. Soft whites and warm off whites lift the room the most and let the groove pattern show as gentle shadow lines. Pale greens and gray greens pick up the light from a garden view and feel at home in the Mediterranean climate of the South Bay. Deep colors, such as navy, forest green or a dark charcoal, can look rich and intentional on paneling, especially in a library corner or a media room, but they need very good priming because any bleed shows less but any missed spot shows more.
Sheen matters as well. An eggshell or satin finish wipes clean and suits a room where children play or pets lounge. Flat paint hides surface flaws better but marks easily on paneling at hand height. Trim around doors and windows can go a step glossier for contrast.
Look at sample patches on the actual paneling at different times of day. The grooves throw small shadows that make a color appear slightly darker than it does on a flat chip, and the dim interior of many Torrance dens deepens it further.
Working around the fireplace, built ins and trim
Many paneled rooms have a brick or stone fireplace, and sometimes paneling wraps around it. Keep paint and primer off masonry unless the plan is to paint it too, which is a separate decision. Built in shelves or a wet bar may be paneled to match, and they usually look best painted the same color as the walls or a slightly deeper shade so they recede rather than stand out.
Original wood trim can stay stained if it is in good condition and the new wall color complements it, though painted paneling next to dark stained casing can look unfinished. Many owners paint the trim and doors at the same time for a unified result.
A sensible order of work
- Empty the room, remove outlet covers and switch plates, and protect the floor.
- Wash, rinse and dry every panel.
- Repair loose panels and fill nail holes.
- Scuff sand and wipe.
- Decide on grooves: fill and sand now, or leave open.
- Prime with a bonding, stain blocking primer, and spot prime any bleed after the first coat dries.
- Caulk gaps at the corners and along the trim.
- Apply two topcoats, brushing grooves first and rolling faces second.
Done in that order, a dark Torrance den can become one of the brightest rooms in the house. The paneling stays, its character can stay too if you like the lines, and the room finally matches the rest of the home.